How to use the website
1.Choose the product you are interested in from our offer.
2. Then we go to the product description, where we can specify product parameters such as format, quantity, paper, etc.
.jpg?v=9900)
At a later stage, the order will be able to make any changes, if necessary.
3. Choose one of the three available project delivery options on the right side of the price calculator.

BROWSE PROJECTS(red frame) - you will automatically go to our templates that you can modify for your business.
CUSTOMIZE THE PROJECT (blue frame) - make your own design through
our wizard.
Upload project (gray frame) - upload your own project in PDF format.
4. After clicking on the "Browse projects" icon we will be redirected to the page with available templates arranged in categories.
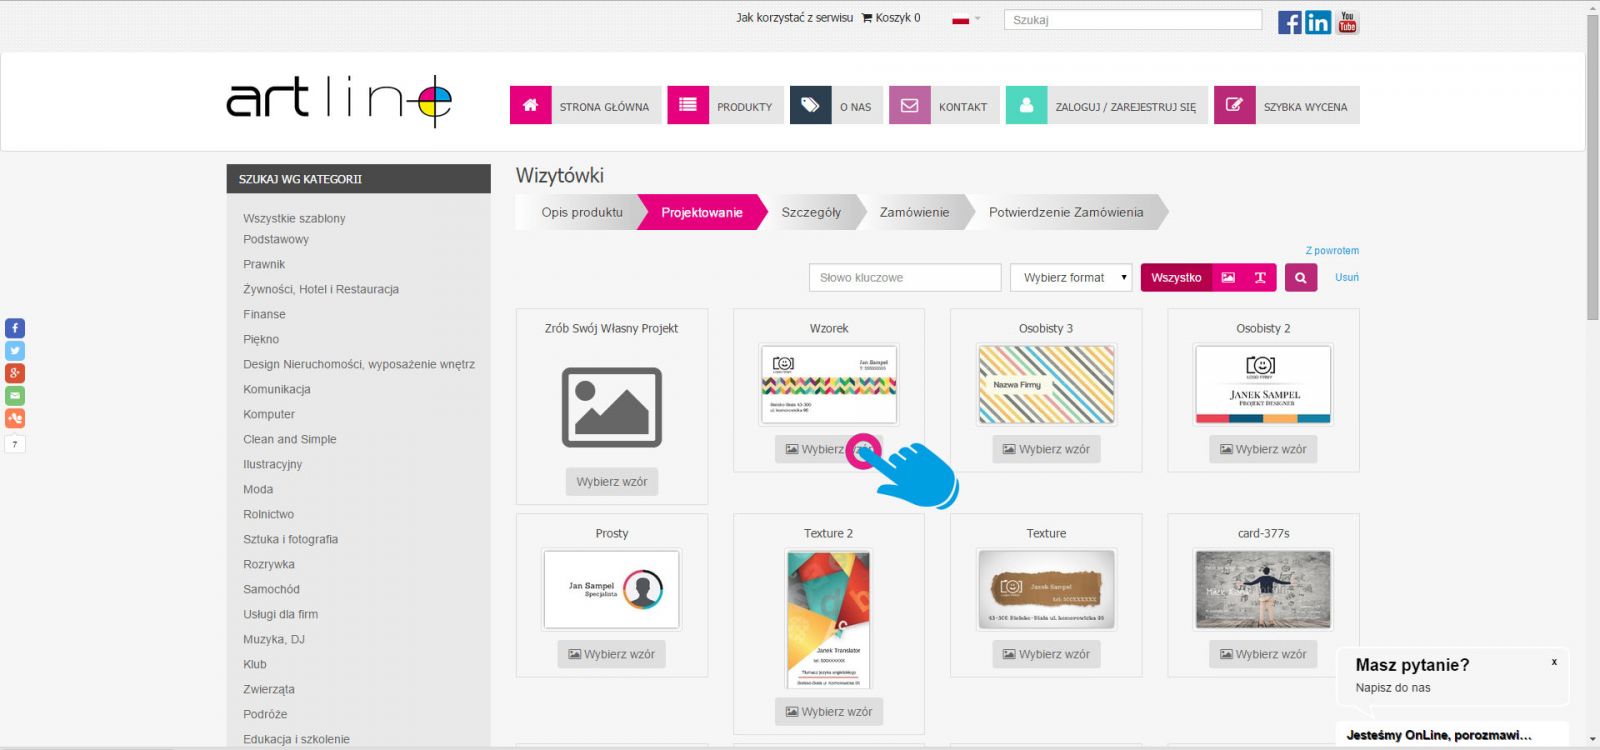
5.We choose one of the designs that we liked by clicking the "Choose pattern" icon and then we will be directed to the page with the wizard, in which we will be able to modify the selected template for our own needs.
.jpg?v=9900)
The wizard is a very simple tool for creating graphics without the need for graphics programs. In the wizard you can change texts, fonts, colors. Add photos, shapes or QR codes by modifying the template for your activity.
6. After completing the design process, save the project giving it a name so that you can easily track it in your portfolio or orders available in the customer panel after logging in.
.jpg?v=9900)
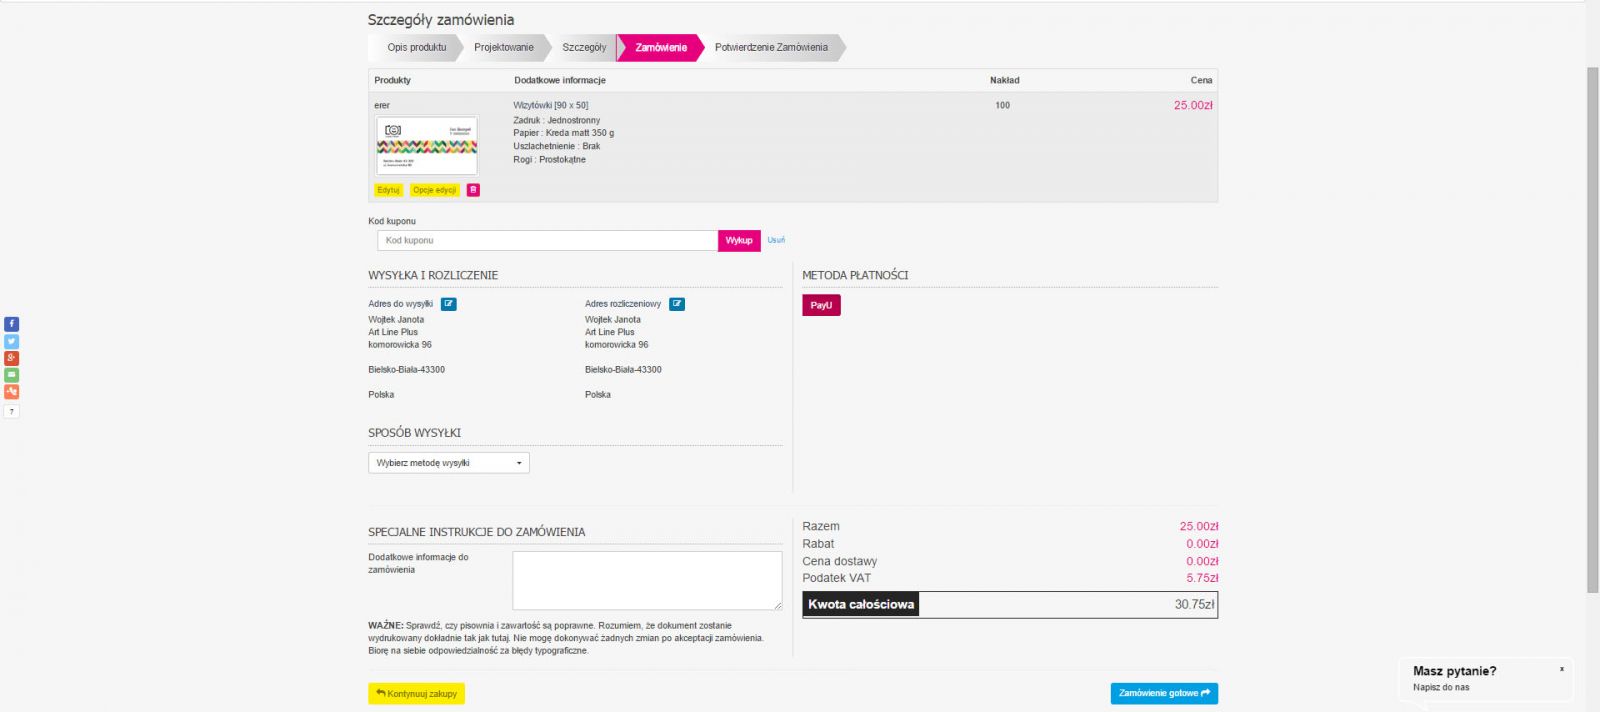
7. The project is ready. Time to complete your order details.
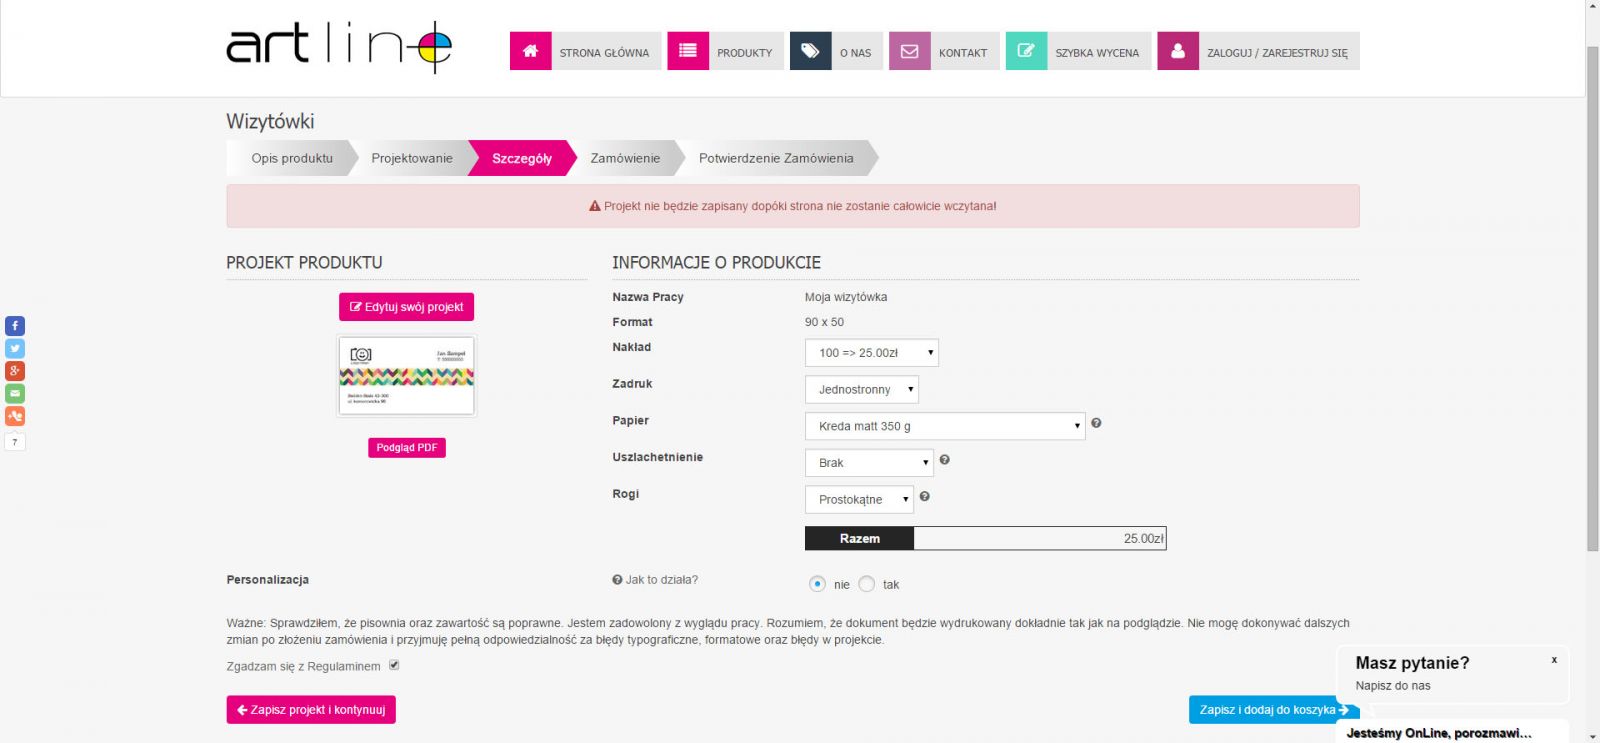
At this stage, you can still return to your project to make any changes and tear the file in PDF format. Now you can also modify your product parameters if you decide that you want to change the paper or edition.
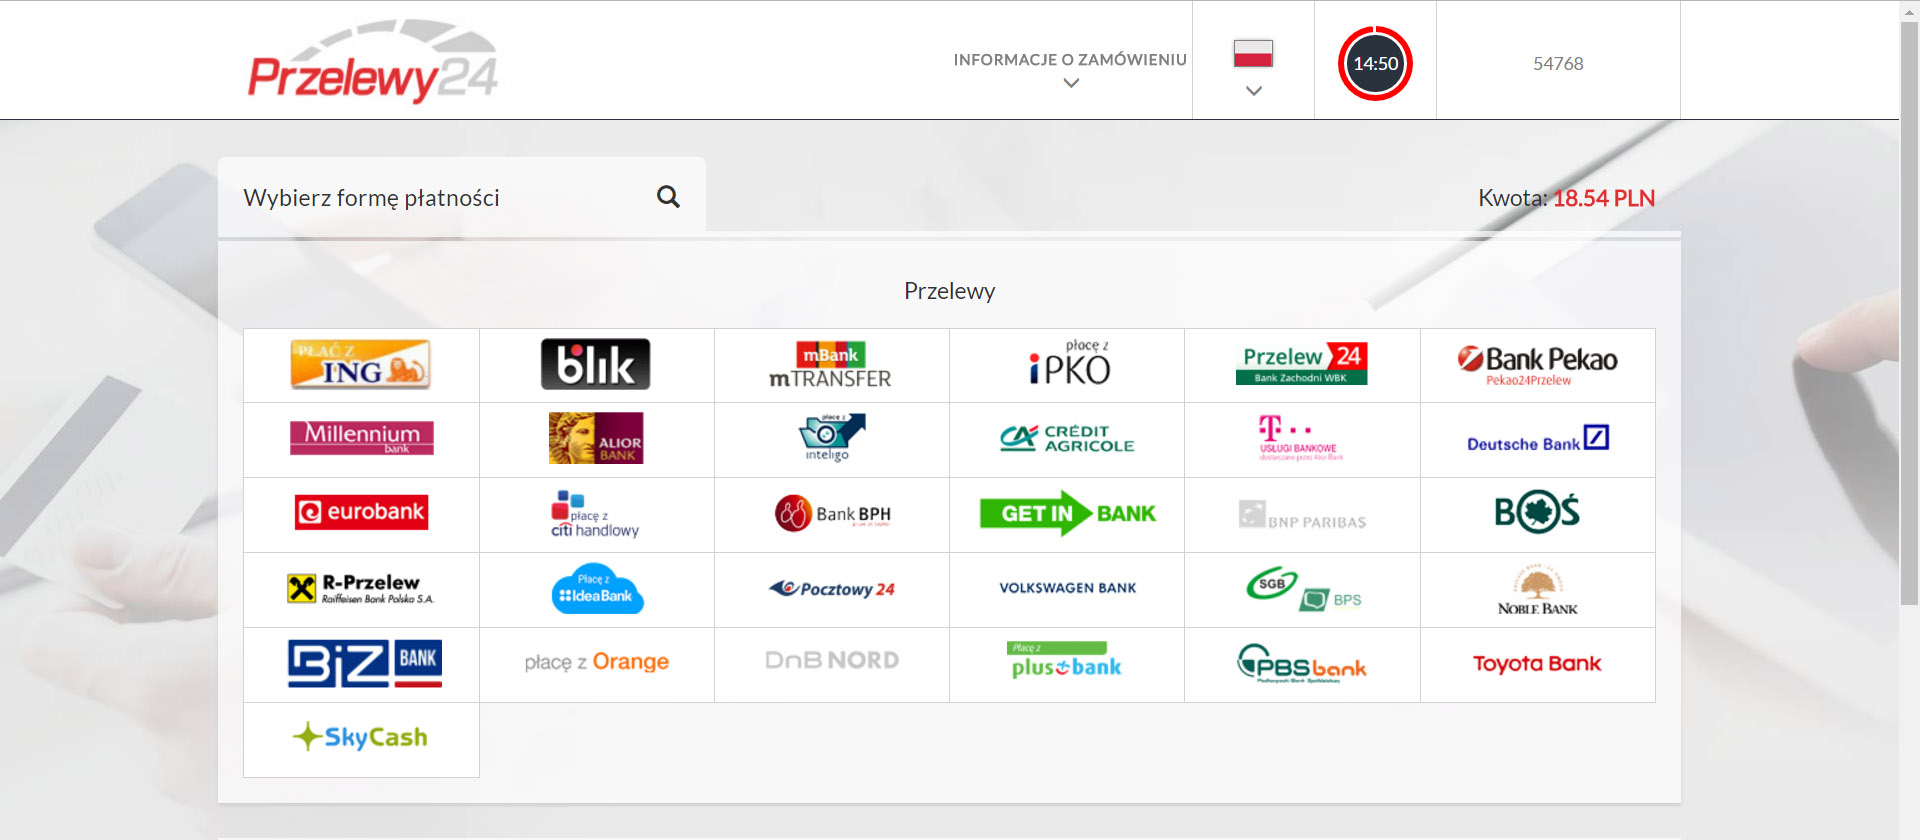
8. After clicking on the "Save and move to cart" tab, we will be redirected to the penultimate tab before the payment gateway.